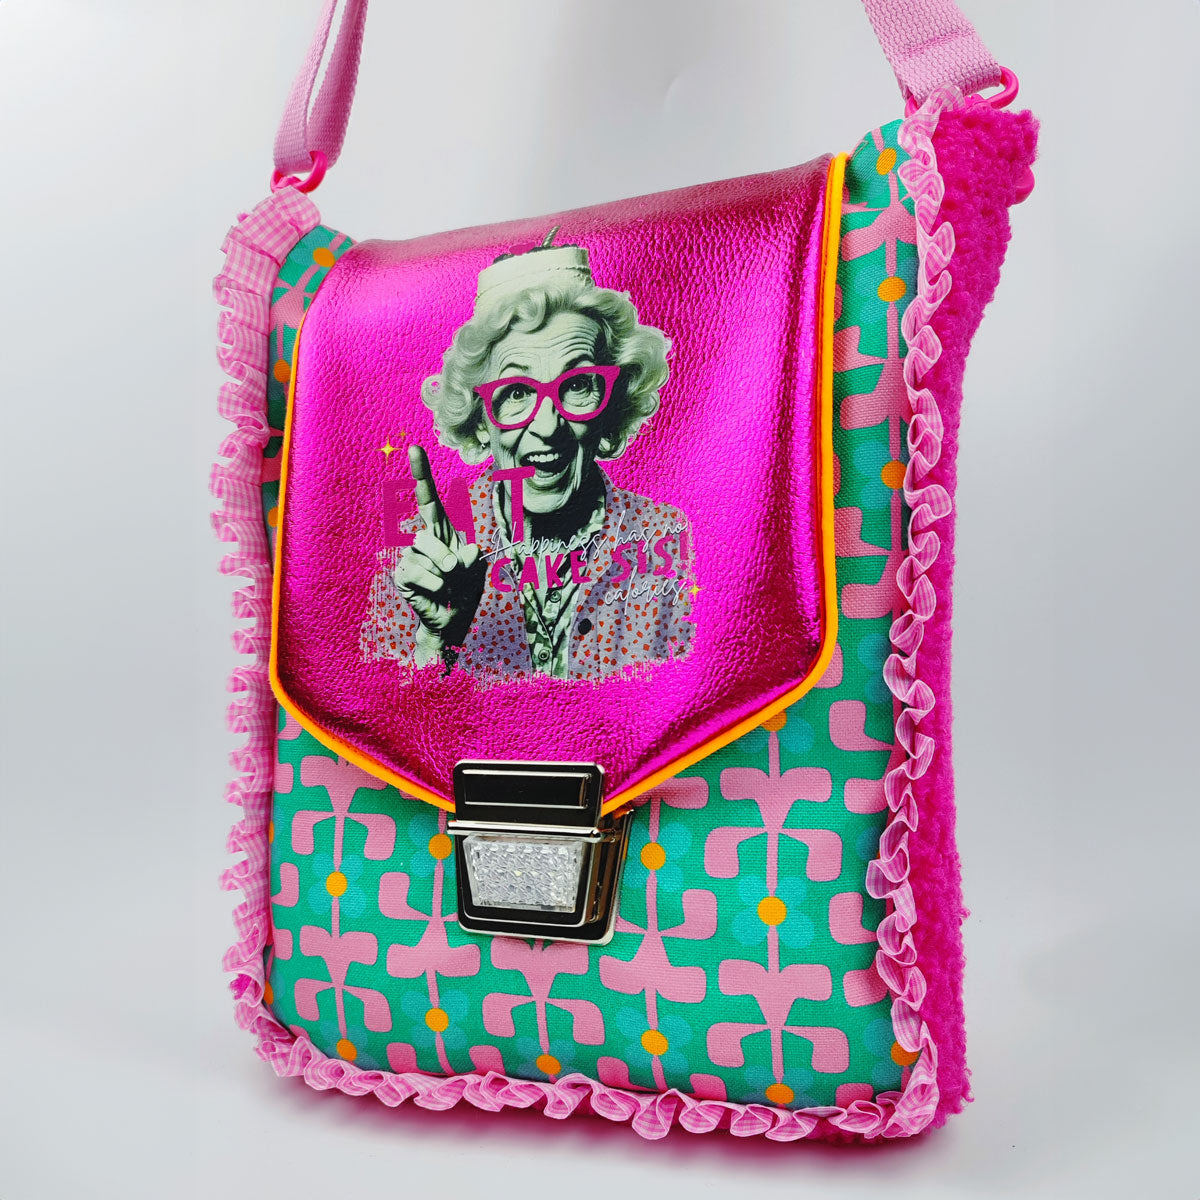
Basically, applying iron-on transfers is really easy peasy! But, what can I say, sometimes things go wrong! That's why I want to write about the most common mistakes when using iron-on transfers and give you a few helpful tips. This will help you achieve a perfect result!
Wrong choice of fabric
Most fabrics are suitable for iron-on transfers . These include cotton and its blends, jersey, French terry, sweat, sports fabrics, jerseys, polyester, linen, canvas, wool-silk jersey and more.
Unsuitable materials include knitwear, boiled wool, fine fabrics and woolen fabrics.
Ironing temperature set incorrectly
Too hot or too cold?
Solution:
Set your press to 150 degrees Celsius, or use an iron on level 2 (130 - 150 degrees Celsius). To protect the iron-on image and your textile, you can cover the iron-on image with baking paper. In principle, however, the carrier is heat-resistant and does not need to be covered.
Please also note that an iron-on transfer is not ironed and should not be steamed. The image is pressed on piece by piece by applying constant pressure.
Ironing too briefly
Patience pays off
Many people have probably experienced this at the beginning: the iron-on image was pressed on for too short a time. In order for the adhesive to adhere well to the back of the iron-on image, each spot must be pressed for at least 10 seconds. If pressed on correctly, the iron-on image takes on the structure of the textile.
If an iron-on image is not pressed on completely, it usually comes off after the first wash.
Solution:
Press your iron-on transfer onto the floor or a stable table. Press the iron evenly and for a long time onto the transfer, about 10 - 12 seconds. Let your iron-on transfer cool down a little until the transfer film is lukewarm. Then peel off the carrier, place a sheet of baking paper as a cover and press all areas again.
Poor preparation of the textile
The textile must be clean
You should wash the textile beforehand and not use fabric softener before pressing.
If you iron your textile a little beforehand, you will have everything perfectly prepared.
motif incorrectly placed
Once ironed, always ironed
What some people also find difficult is the correct placement of the iron-on transfers. If the transfer is applied incorrectly, it cannot be corrected.
Solution:
I personally like to position images in unusual places, such as on the side seams or at the bottom left/right at the back. But sometimes I also put them in the middle of the chest (actually most of my motifs :))
I follow a rule of thumb: 5 - 6 centimeters below the collar.
But the easiest way is to put on the shirt (hoodie etc.) and mark the spot where the motif should start.
Then you pull it out again and position it in the middle of the mark.
Et voila.
Incorrect care after application
Proper care counts
My iron-on transfers are washable up to 60 degrees Celsius. They adhere well and can even be put in the dryer on a gentle cycle.
However, washing at 40 degrees Celsius will protect your fabric and your iron-on image. Turning it inside out can also work wonders!
Do you have any other tips or would you like to share your experiences? Leave me a comment!


